Are you tired of looking at your old, damaged vinyl siding that needs serious repairs? It’s time to stop looking and start doing. While vinyl siding is popular for being able to last for decades, it still needs to be properly maintained. But what if despite your efforts, it still starts to show signs of aging or damage? The solution doesn’t have to be expensive. Follow this guide to learn how to repair your vinyl siding without breaking your wallet.
When Should You Repair Your Siding?
Before you start doing the heavy work, it’s important to know when you should actually begin repairing to avoid wasting time and further damage.
Here are several signs that it’s time to change your home’s exterior cladding.
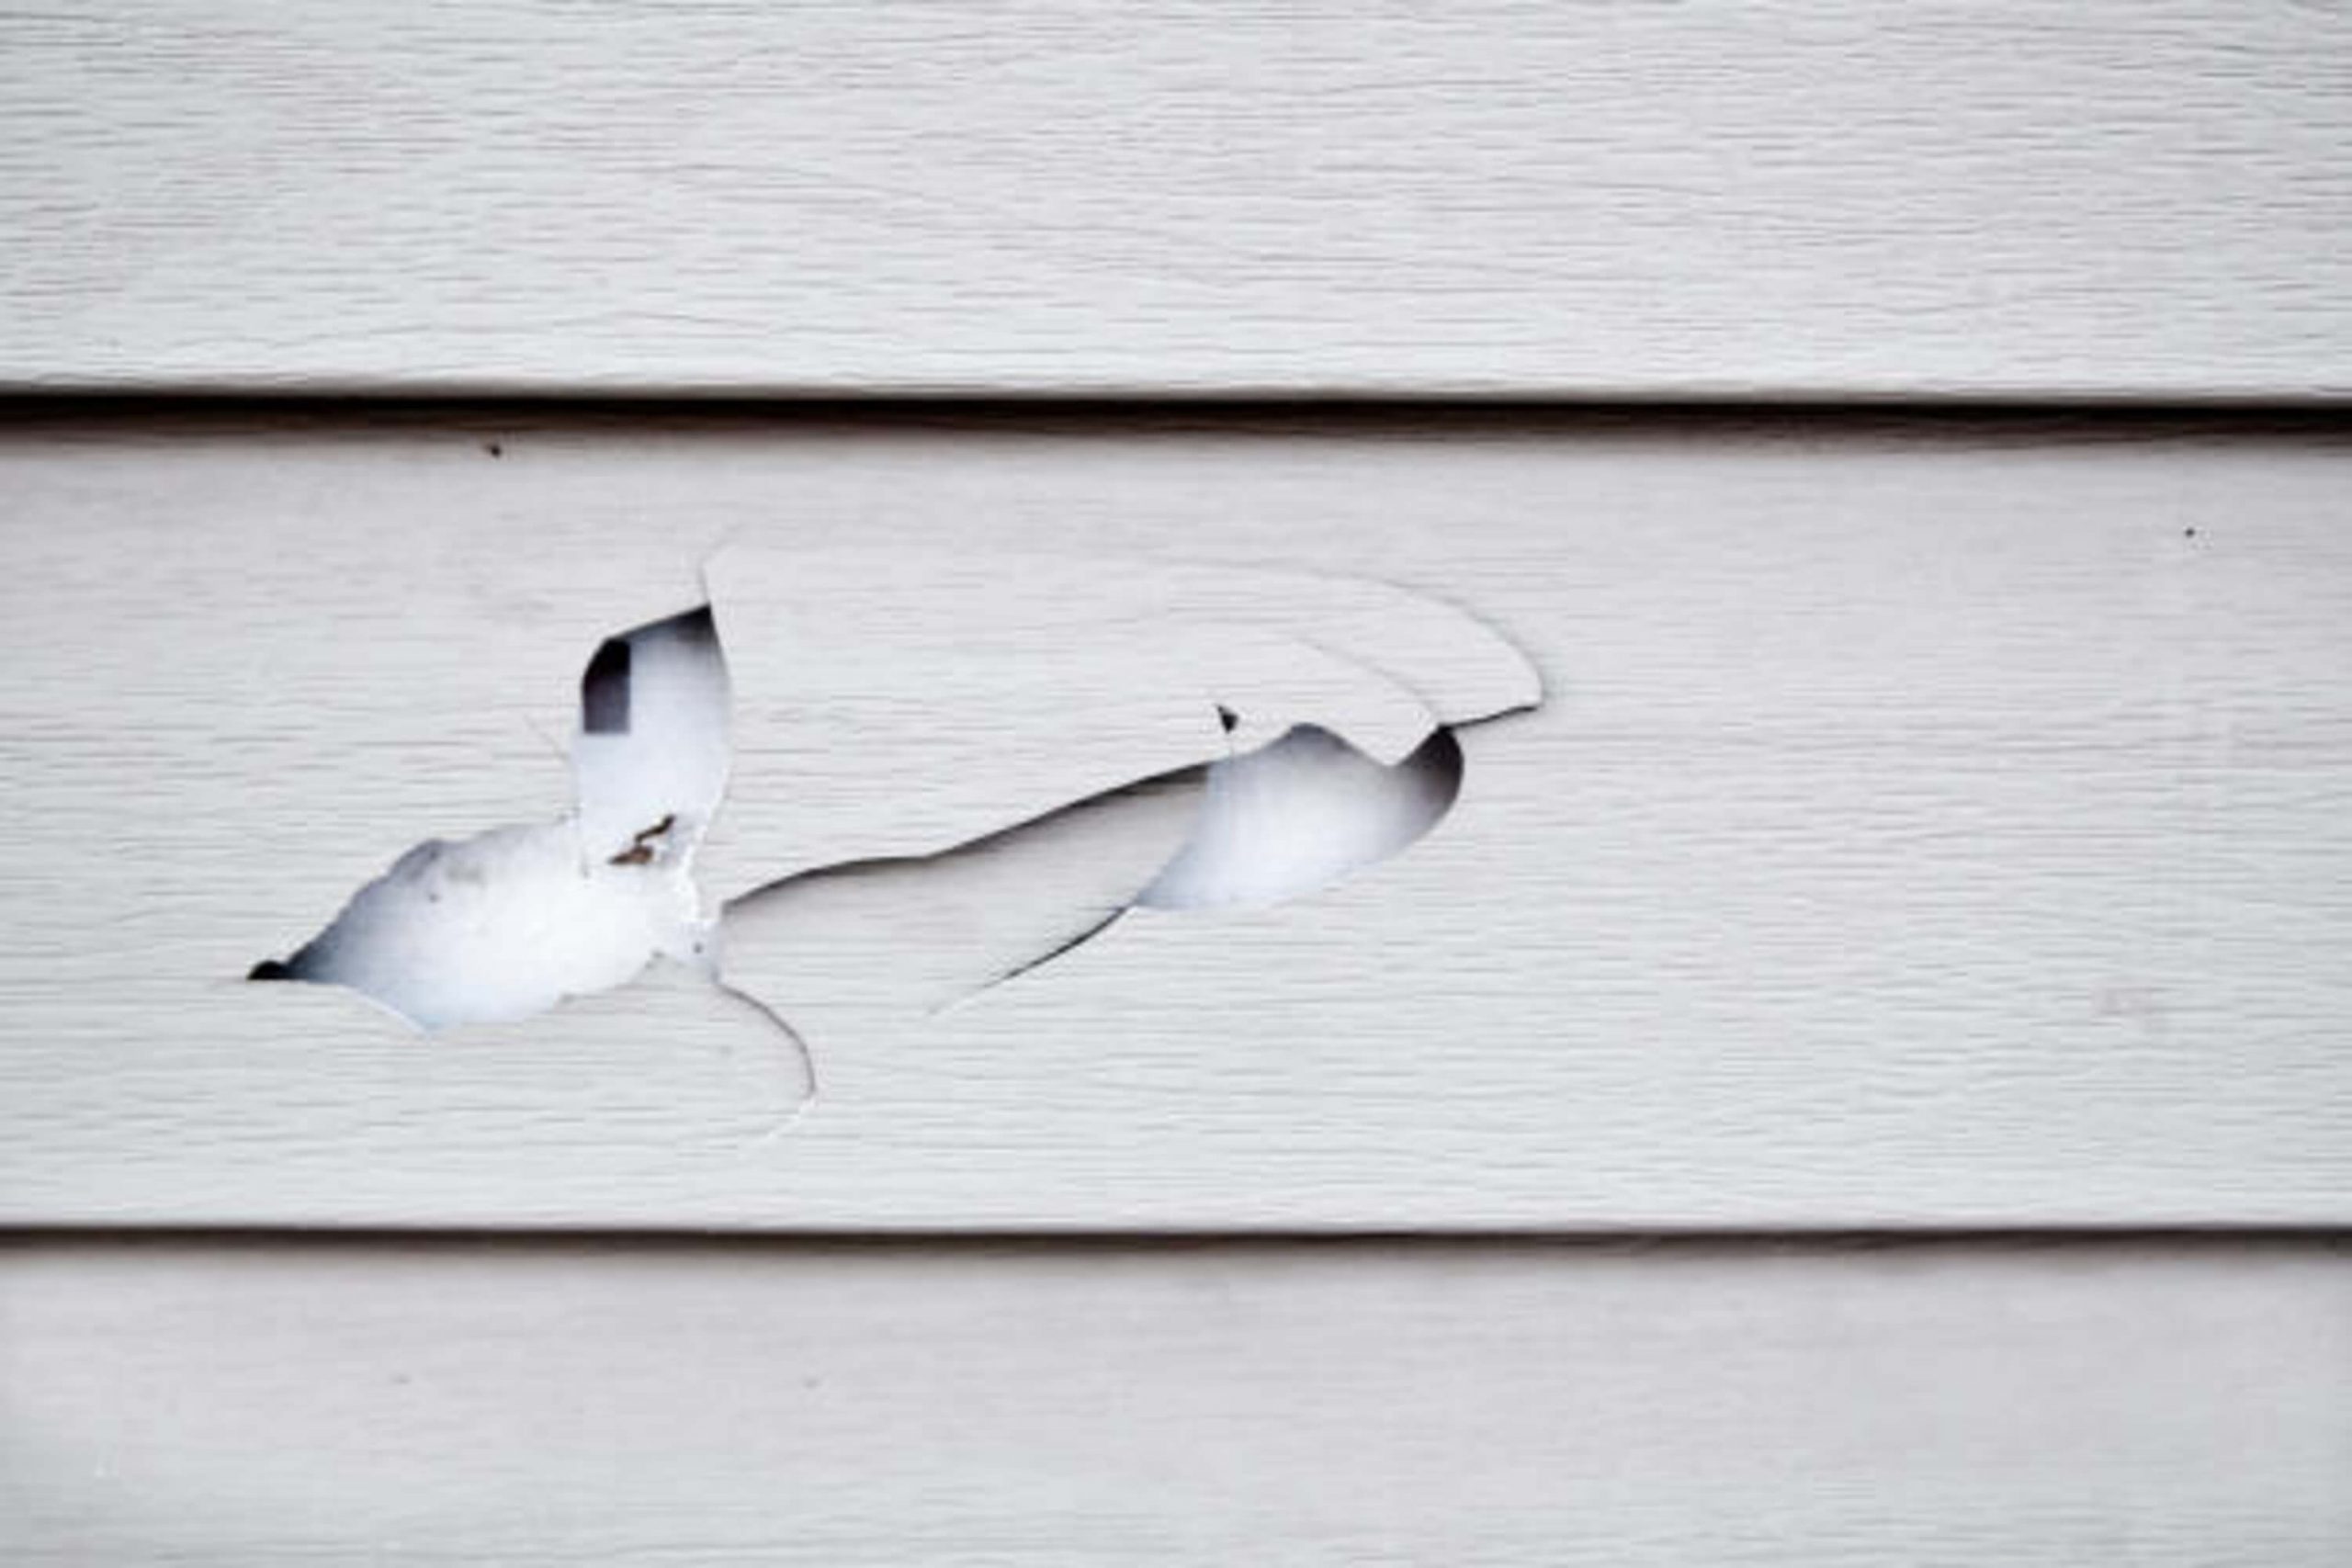
- You see cracks, and the siding has popped out of place. Leaving this left untreated for too long allows water to seep through and damage the interior cavities of your home.
- There are dents and small holes on the siding. It won’t be long until bugs and mold find their way through these openings and chip away at the material.
- You observe warped sections. Warping is often due to extreme climate conditions such as alternating hot and cold weather. It is necessary to repair your siding right away to prevent more damage.
- Presence of dry rot. Even if your siding looks fine on the outside, it might be dying on the siding. Try to knock on your siding. If you hear a hollow sound, it means rotting has been eating away underneath the panels.
- Molds and fungus have grown. This can’t be helped sometimes, even if there’s no dent on your siding. You’ll mostly find wet portions underneath.

How to Repair Your Siding
Siding repair can be daunting. However, it isn’t impossible with the right guidance. Watching several YouTube tutorials will help a lot. Before you start, make sure to gather the right tools and supplies. These are mostly cheap and available at your local hardware shop.
- Eco-friendly caulk
- Caulk gun
- Hammer
- Flat pry bar
- Tin snip
- Zip tool
- Siding replacement (if needed)
Making Minor Corrections
It is advisable to make any corrections to minor siding damage as soon as possible. These can range from small chips to minor scratches or holes. You don’t want to try and fix things when it’s too late.
Use external caulk for small repairs. Simply load the caulk into the caulk gun, then cut off the tip. Aim the gun at the hole or crack and press the trigger until the caulk oozes slightly. Make sure to fill every gap.
And you’re done! Wait for a few weeks for the caulk to harden. When you feel that it’s firm already, slice away the excess caulk with a sharp knife or any utility blade. Lastly, paint the repaired portion with the same color as your original vinyl exterior.
Fixing Prominent Damage
If the damaged part is more prominent than what the method above can handle, it’s time to step up your patching game. This technique is best suited for dents, medium-sized holes, and some noticeable warping.
First, use the utility knife to form and cut a box around the damaged region. Next, use the zip tool to follow your cut’s dimensions and remove the damaged area. Prepare a vinyl patch 4 inches wider than the segment you removed.
Now place the damaged segment side by side the vinyl patch, trace, and cut the exact dimensions on it. Finally, use the caulk gun to fill the gap, cover it with a vinyl patch, and reinforce the area with duct tape. After a few days, you can then remove the duct tape and paint the patch accordingly.
How to Replace a Panel
Alright. Now you’re in for a real challenge. You will have to replace an entire panel if the damage is severe. You can’t fill a huge crack or hole with caulk.
Start by inserting the zip tool under the lip of the vinyl. Pull downward to unhook the panel, then slide sideways until it unlatches. Next, remove the nails using the pry bar. Now it’s time to install the new one. Fasten the new panel using the nails and hammer. Finally, secure the entire board using the zip tool. Voila! You’ve finally replaced your damaged siding.

Hire a Siding Contractor
When the damage is too extensive, it is time to call the professionals. This way, you’ve solved the problem correctly and saved yourself money in the long run. More importantly, you’ll skip risking your safety doing the job yourself. And before you sign a contract with one, be sure to check that the contractor is licensed, insured, and has a good track record.
