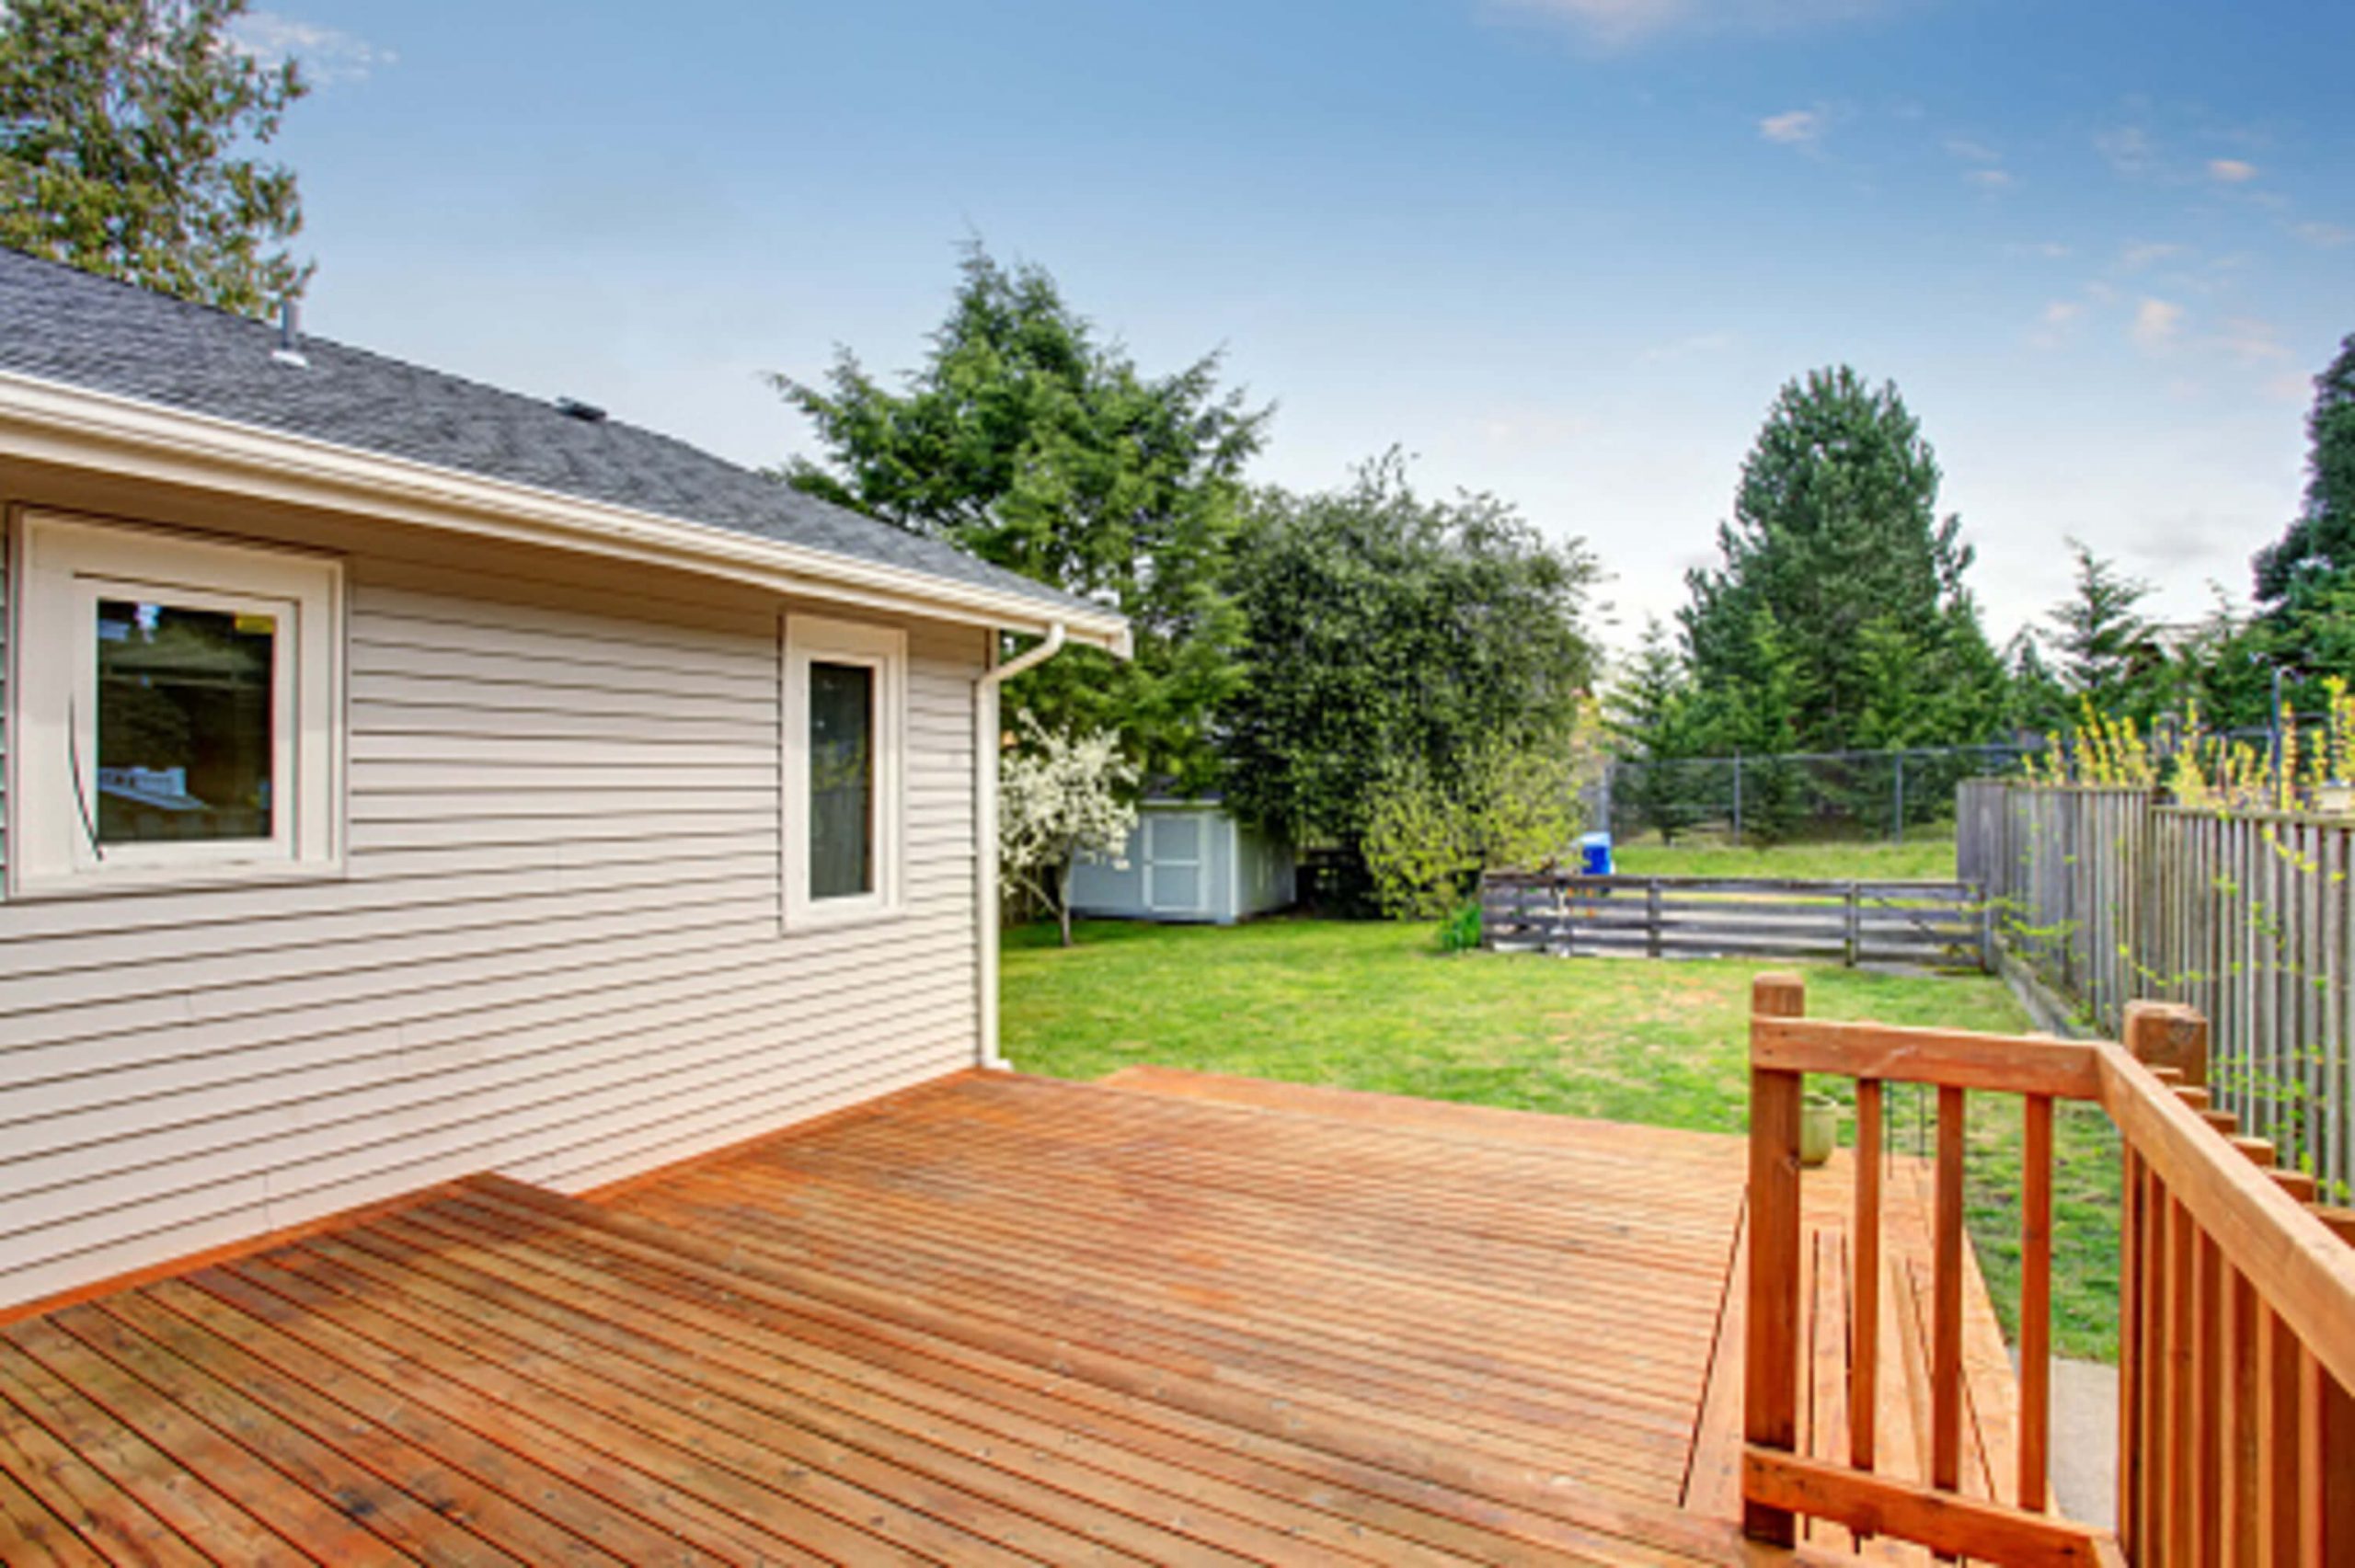
An elevated back deck is a great way to enhance your home’s curb appeal and add living space. It’s perfect for holding backyard parties or simply chill after work. Not only does it look good, but it also increases the value of your property. So what’s stopping you from building one? The problem is, such an ambitious project can be daunting for the average homeowner – both financially and physically. But you don’t need to worry as long as you know what to do. If you’re planning to build one, here’s a complete guide to ensure quality results.
Project Planning
Before you start hammering in boards, take some time to plan your deck build-out. First, draw out a diagram of the area you want to build on and decide how high off the ground it would be. Depending on where you live, anything higher than 30cm (1 foot) or covers 50% of your backyard might require a building permit from the local authorities.
Before requesting permission, you should measure the dimensions of your deck first. The first step is to draw and calculate the entire perimeter. Next, account for several access points like doors and staircases. Remember to allocate some setback space from your fence. It’s also essential that you mark utilities like sewage and gas lines with paint to avoid digging into them. Finally, mark the footers of your deck using sticks.
Things That You Need
Building a deck isn’t a small project. You have to be prepared more than anything else. Below is a list of the supplies you’ll need before you can begin:
Safety Equipment
- Socks with close-toed shoes
- Long pants and long-sleeved shirts
- Gloves
- Hard hat
- Safety goggles
Tools
- Spade
- Tape measure
- Builder’s line
- Drill
- Spirit level
- Power auger
Materials
- Balustrades
- Deck stair
- Metal joist hangers
- Quick-drying cement
- Stair railings
- Decking joists
- Decking boards
- Decking screws
- Gravel
- Stainless steel washers
- Masonry bolts
- Coach screws and socket set
- Weed control fabric
Building your Elevated Back Deck
Since you’re planning to relax with friends or isolate yourself from the world in your deck, you want to make sure it’s as sturdy as possible. One great advantage to building it yourself is that you know everything about the construction. It provides assurance knowing that you didn’t skimp on materials or got lazy with the works.
To build one, here’s a shorter step-by-step guide shared by decks.com for you to follow:
- Start with the ledger board. Fasten the ledger board to the wall of your home that you want to attach the deck to. Ensure every bolt is tightly placed as it will serve as the support for the entire floor.
- Next, sink in the deck footings. It is advisable to use the power drill to dig at least 48 inches deep and allocate more than a 13-inch width for the footing for optimal stability.
- Position the posts. After excavation, it’s time to set up your deck’s posts before pouring in the concrete. Check that it’s completely vertical to ensure the stability of the entire structure.
- Add the concrete. Mix the concrete in a wheelbarrow or a mixer and slowly pour it into the holes to hold the post. Please wait 48 hours for it to dry.
- Install the deck joist. It will help strengthen the floor of your deck together with the ledger. Use the metal joist hanger to secure its position.
- Install the deck boards. With the foundations in place, your dream deck should now start to take shape. Get the boards and lay them perpendicular to the joist. Once you’ve settled on a pattern that you like, install them using the deck screws.
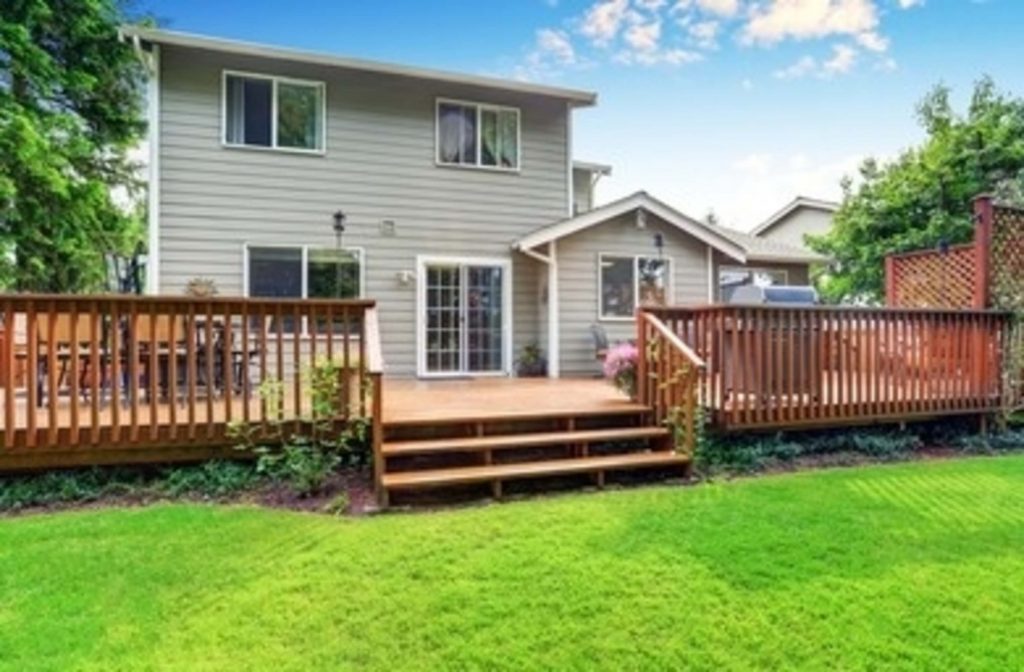
- Build the stairs. Whether you install a stairs package or build one yourself,make sure to prepare a concrete footing at the bottom of the stairs. You can find plenty of tutorials on the Internet on how to create a stair run.
- Link everything. This means connect every part so that the entire deck becomes sturdy as one. Plumb your posts and bolt in the landing frames.
- Install the stair railings. Almost done. As you install the railings, keep in mind that the minimum height for the building code is 34 inches for stairs.
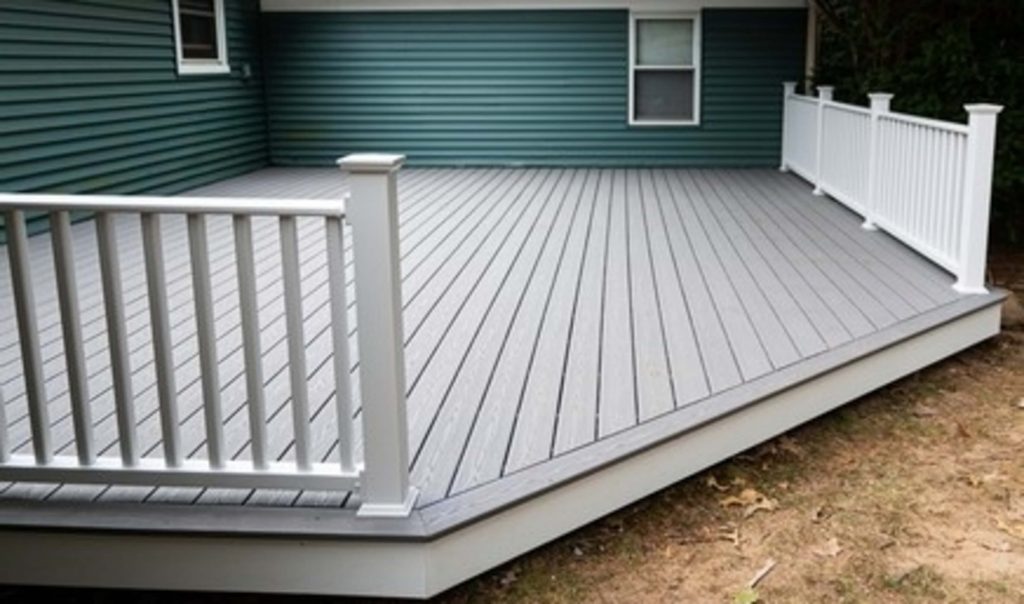
- Finally, install the deck railing. Welcome to the final step to completing your dream deck! Unlike the stair railings, deck railings can be 34 – 42 inches tall, and posts should be 4 – 8 feet apart. Still, you might want to refer to your local construction policies to avoid setbacks.
Perfecting your Elevated Back Deck
Elevated back decks are not the same for everyone. Each home calls for different methods, techniques, factors, and troubleshooting options for perfecting the project. As the contractor of your own project, you will have to consider the terrain, weather, location, and materials. It might seem like an impossible task at first, yet it will be rewarding once you complete it. There’s no need to rush. Take the time to plan, do your research, and envision your project for the best results.